Can You Help Us With Photographs Of This Trek?
We are looking to enrich this documentation with more photos. Pictures go a long way in explaining the trail, more than words ever can. If you have done this trek, can you share your photos with us? We will include them on this page, with due credit to you.Click here to contribute.
The Guide To Kolli Hills Trek
Kolli hills trek starts at a tiny village called Puliancholai. 4-5 houses, an equal number of eateries, a dilapidated park, a temple and a river are what dot the Puliancholai landscape. Walk past the temple and head towards the river. The water is shallow but will wet your feet. Cross the river and take the tiny trail that goes left upstream. This is the start of the Kolli Hills Trek.
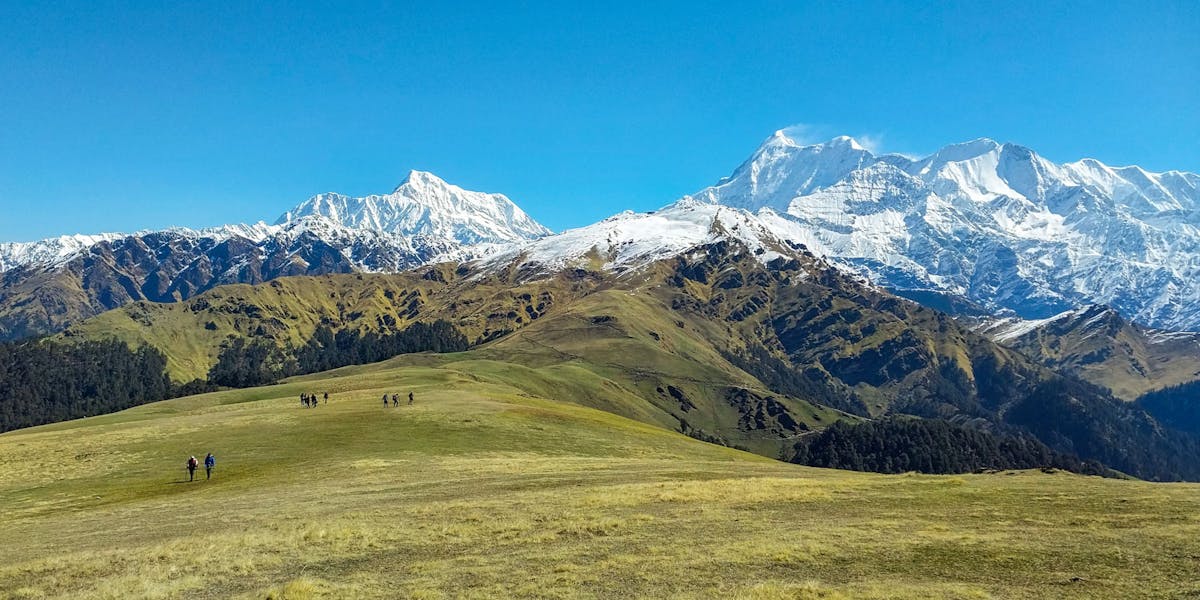
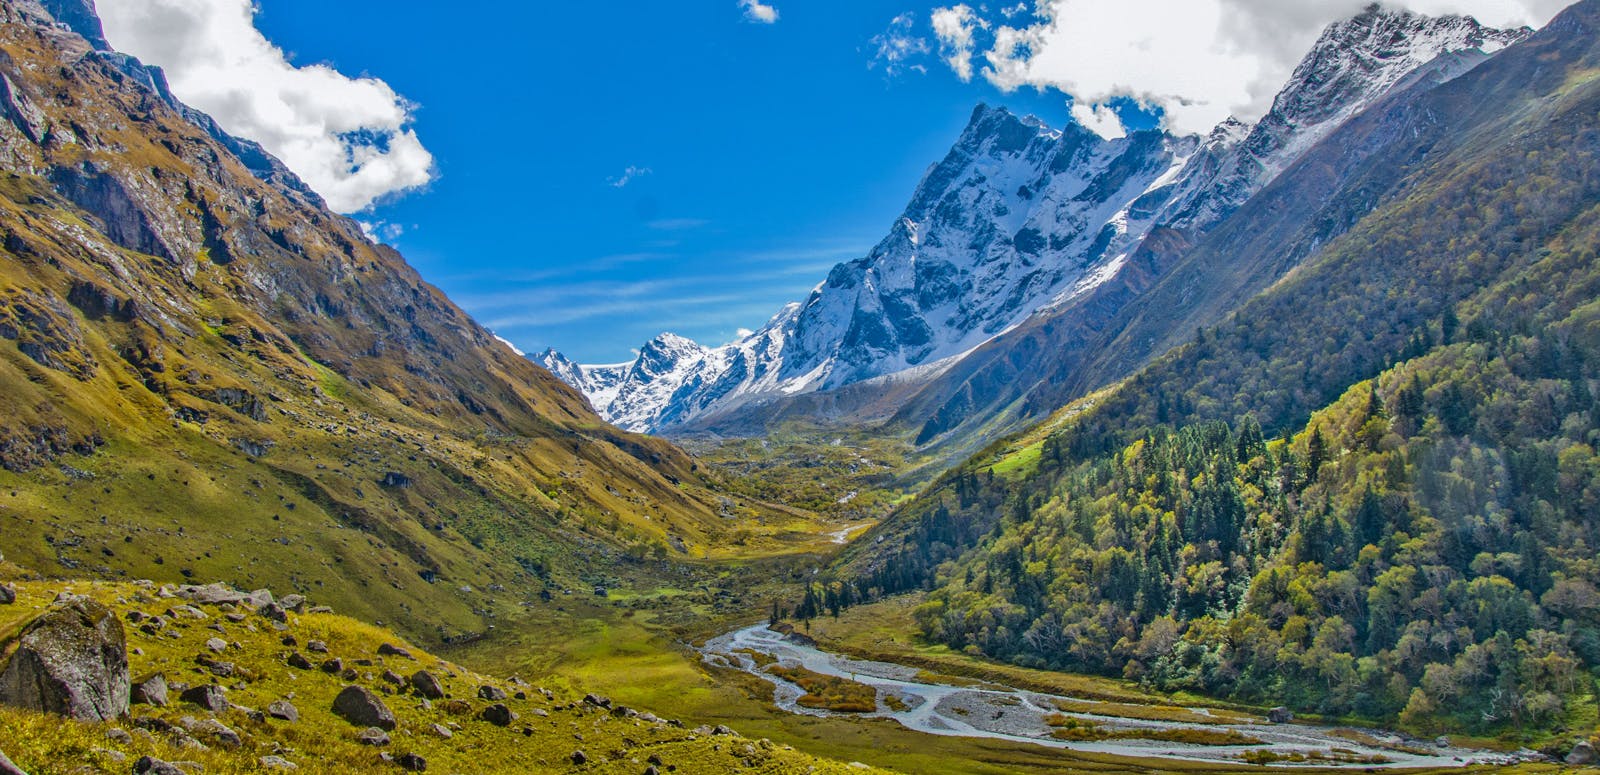
Dense greenery, a fast-flowing river, numerous river crossings, a stiff climb, and a mind-blowing waterfall at the end. These are the 5 ingredients that make up the Kolli hills trek. The vegetation and terrain are very different from that on other Western Ghats treks. The river valley adds an additional charm right from the beginning. The envelope of greenery is overwhelming at times and the clearings overlooking the settlements below throw in sudden surprises on the trail. The trek ends as you reach the top but the best part is yet to come. Wading through neck-deep water and standing directly under the 300ft waterfall are the few things that make you think that this was a weekend well spent.
Puliancholai is at the base of Kolli Hills. Cultivated flat fields end at Puliancholai and a green forest cover clads the land beyond. The river bed is rocky, flat and wide and the trail goes right next to it.
- The Kolli Hills Trek boasts dense greenery, a fast-flowing river, numerous river crossings, a stiff climb and a mind-blowing waterfall at the end. These are the 5 ingredients that make up this trek.
- The vegetation and terrain are very different from that on other Western Ghats treks. The river valley adds an additional charm right from the beginning.
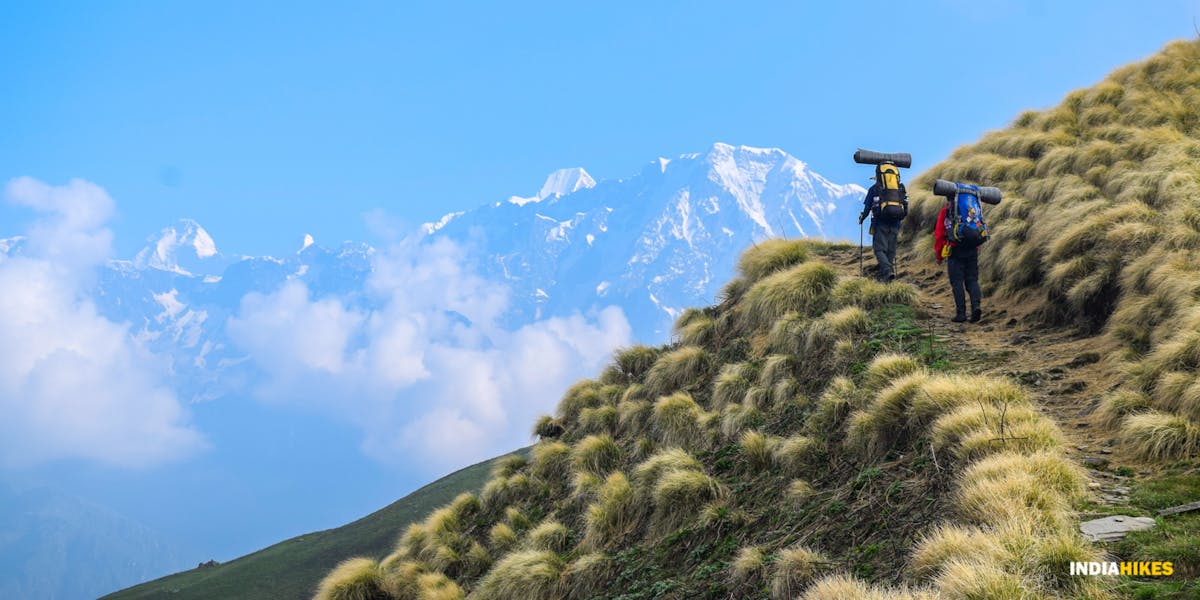
- The envelope of greenery is overwhelming at times and the clearings overlooking the settlements below throw in sudden surprises on the trail. The trek ends as you reach the top but the best part is yet to come.
- Wading through neck-deep water and standing directly under the 300ft waterfall are the few things that make you think that this was a weekend well spent.
Trail Information
The Kolli hills trek starts at a tiny called as Puliancholai. 4-5 houses, an equal number of eateries, a dilapidated park, a temple and a river are what dot the Puliancholai landscape. Walk past the temple and head towards the river. The water is shallow but will wet your feet. Cross the river and take the tiny trail that goes left upstream. This is the start of theKolli hills trek.
Puliancholai is at the base of Kolli hills. Cultivated flat fields end at Puliancholai and a green forest cover clads the land beyond. The river bed is rocky, flat and wide and the trail goes right next to it.
Walk on the along the river and in the next half an hour you will need to cross the river a couple of more times. The trail leads you to the river crossing points. The crossings at this stage are rather straight forward and you just leap across from one stone to another. Notice that you are in a river valley with hills surrounding you in three directions and listen to the sound of the cool breeze and of flowing water as you head upstream.
The first one hour of the trek is beside the river and crossing it 3-4 times in that period. The slope is very gentle and hardly noticeable. Move along the river and after an hour, the trail forks right leaving the river. Take the trail going right.
The vegetation becomes thicker and you enter tall shrubs and trees. The trail is gradually ascending now for another half an hour.
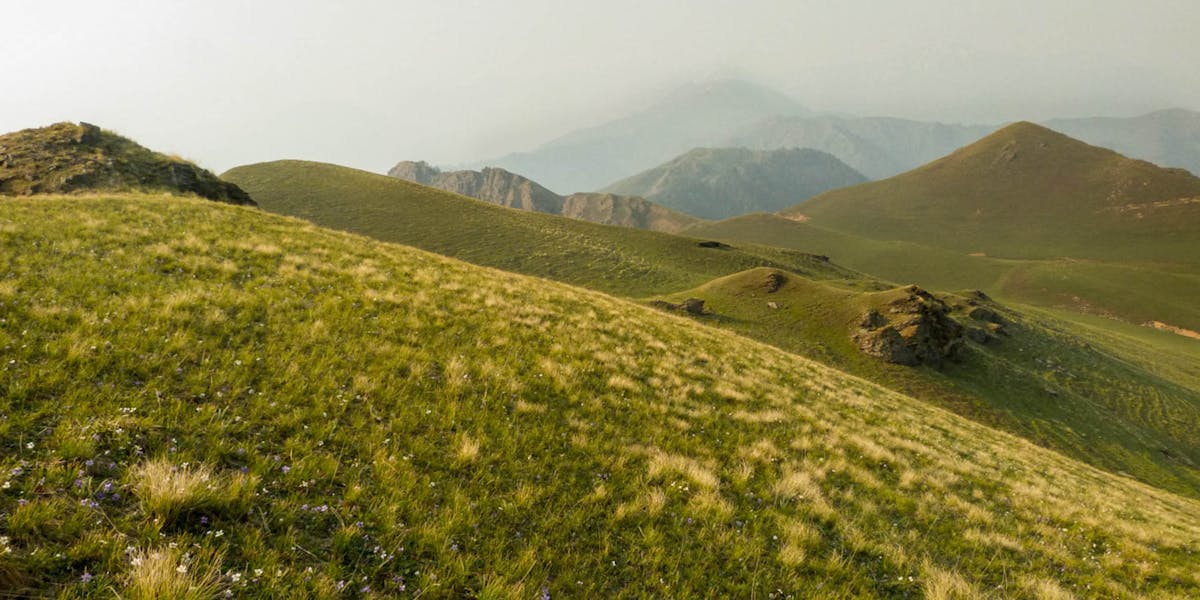
In the next half an hour’s climb the trail starts ascending and you notice that you are gaining height. In the next half an hour, notice a small trail going left. Stop there for a view of the river valley below. Tall rocky cliffs hang on the left and the river glistens through like a small streak in between the greenery below.
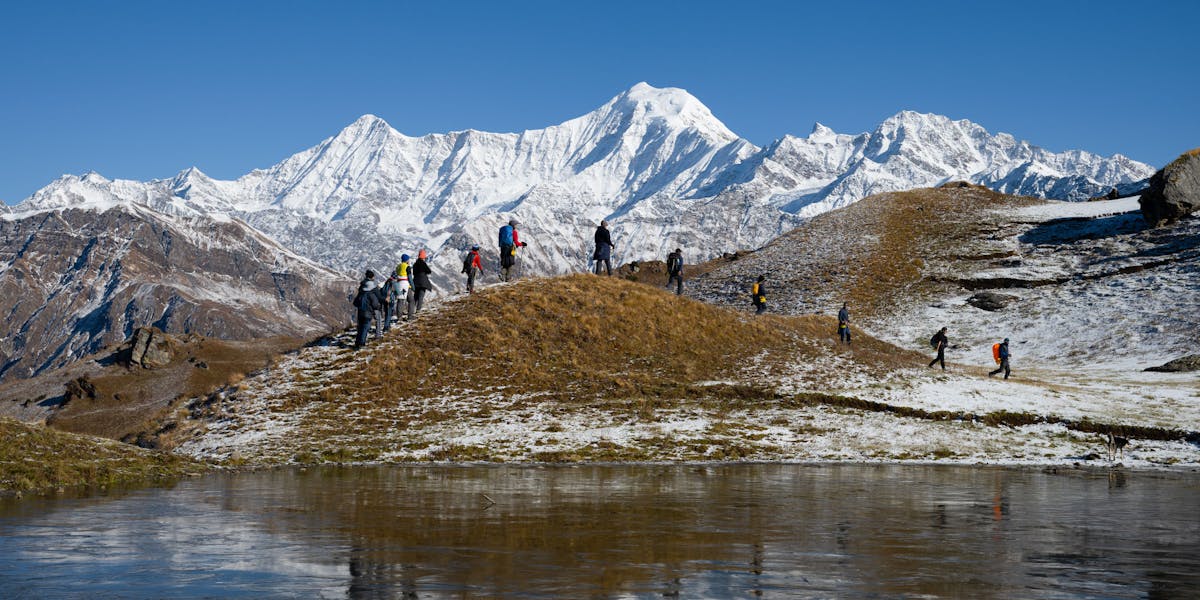
Get back to the main trail and carry on with the climb. In the next half an hour you come to a clearing from where you can see the Raasipuram town below. You know know you are mid way into the climb. From the clearing the trail veers right and the ridge line which is your destination is seen. Go right following the trail and you are at another view point within 20 minutes. Three fourths of the climb is over. The last stretch lasts for about thirty minutes and you find yourself on the ridge. The view from the ridge is quite contrary to expectations. The other side is only a gentle slope and is inhabited. The side you came up from is deserted and forested while the other side has a few houses and fields. Walk down the trail through the paddy fields. Cross a few houses and take the foot trail which descends into another stream. Cross the stream and in 10 minutes you spot the temple at Kolli Malai. The temple marks the end of the trek.
The trek ends but the dessert is still to come. Break for lunch and then head to the Agasa Gangai waterfall which is 1070 steps below. There is an entry fee of Rs.10 per head and the last entry time is 3 p.m. The steps are steep but you go down quickly. The first sight of the waterfall is refreshing. At the base is a 10 ft wide pool which has a variable depth of 3ft to 6 ft. Wade/swim through the water holding on to the fixed ropes and get to the base of the water fall. The experience is exhilarating. A few minutes under the lashing water, and all the fatigue of the trek is forgotten. The climb up the 1070 stairs becomes easier than expected after the refreshing shower under the water fall.
Your vehicle can come till Kolli Malai top. The drive back to Salem is over 32 hair pin bends and takes about 2.5 hours. Salem is 110 kms away from Kolli Malai.
What to pack for the trek
No, stuffing it all in isn’t the right way to do it Packing a backpack correctly saves precious time that you might waste trying to find your things later. It is wise to spend some time on learning what really goes into packing a backpack.
What should I pack?
On a trek, you only get what you take. Something as simple as a forgotten matchbox can cripple your cooking plans throughout the trek. So, it’s essential to prepare early and prepare well. To begin with, make a checklist. While shopping, remember this thumb rule - keep it light. “Every item needs to be light. This ensures that your backpack, on the whole, stays light,” says Sandhya UC, co-founder of Indiahikes. Balancing out heavy items with light ones isn’t going to have the same effect as having all light items. “Always opt for good quality, light items,” says Sandhya.
How much should my bag weigh?
“Your backpack for a weekend trek should weigh between 8 and 10 kg,” explains Arjun Majumdar, co-founder of Indiahikes, “To break it down, your tent should weigh around 2.5 kg, your sleeping bag, around 1.5 kg, and the ration, stove and clothes should constitute the other 5 kg.” The best way to plan is by concentrating on the basic necessities – food, shelter and clothes. Gather only those things that you’ll need to survive. Do not pack for ‘if’ situations. “That’s one of the common mistakes that people make – packing for ‘if' situations. It only adds to the baggage that you can do without on a trek,” says Sandhya.
One good way to go about it is to prepare a list of absolute essentials. Start with the most essential and end with the least essential. That way, when you feel you are overshooting the limit, you can start eliminating from the bottom. Another tip is to be smart while packing clothes. Invest in light. wash and wear fabrics. "Replace a sweater with two t-shirts," adds Sandhya. Layering is the mantra when it comes to trekking. Refer to Sandhya’s clothes list to pack smart.
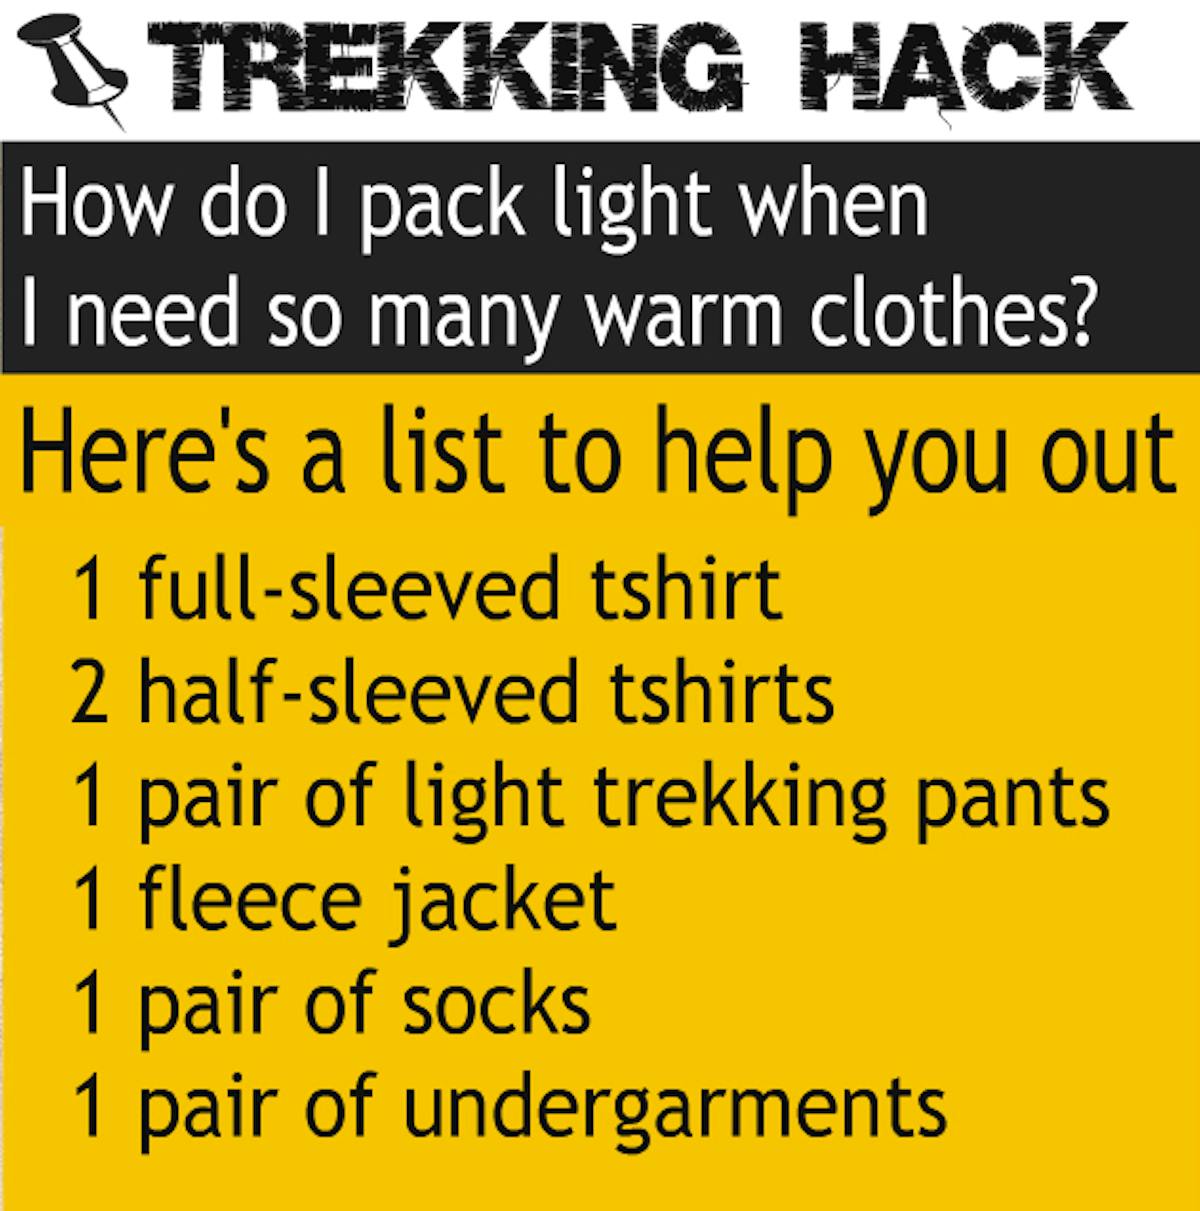
Trekking Hack
How to pack
The thumb rule for this one is to eliminate air spaces. Make sure that everything is packed tightly, especially clothes and jackets, as they tend to take up maximum air space. Put in all the large items first. Then squeeze in the smaller ones in the gaps. This ensures minimum air space. A good way to pack clothes is by using the Ranger Roll method.

Where to pack
Bottom: Sleeping bag: Make this your base layer. Sleeping bags tend to be voluminous, but do not weigh much. They’re perfect for the bottom of the bag. Tent: Just like the sleeping bag, even tents are voluminous and light. Keep the tent poles separately and place the fabric at the bottom of the backpack. MiddleHeavy jacket: Roll up the jacket in a tight ball and place it in the middle of the backpack, close to your back. The middle region of the backpack should always have the heaviest items. You can store other things like rations or mini stoves in the middle. Other clothes: Roll other clothes and place them in the remaining space, to fill air gaps.
Top: Water: Water, although heavy, needs to be easily accessible. So put it in the topmost region of your backpack. Medicine box: This is another component that you wouldn’t want to be scavenging for when in need. Poncho: It could rain at any time in the mountains. So, ponchos should be accessible easily. Also, having a waterproof poncho at the top of the backpack provides additional waterproofing to items in the bag.
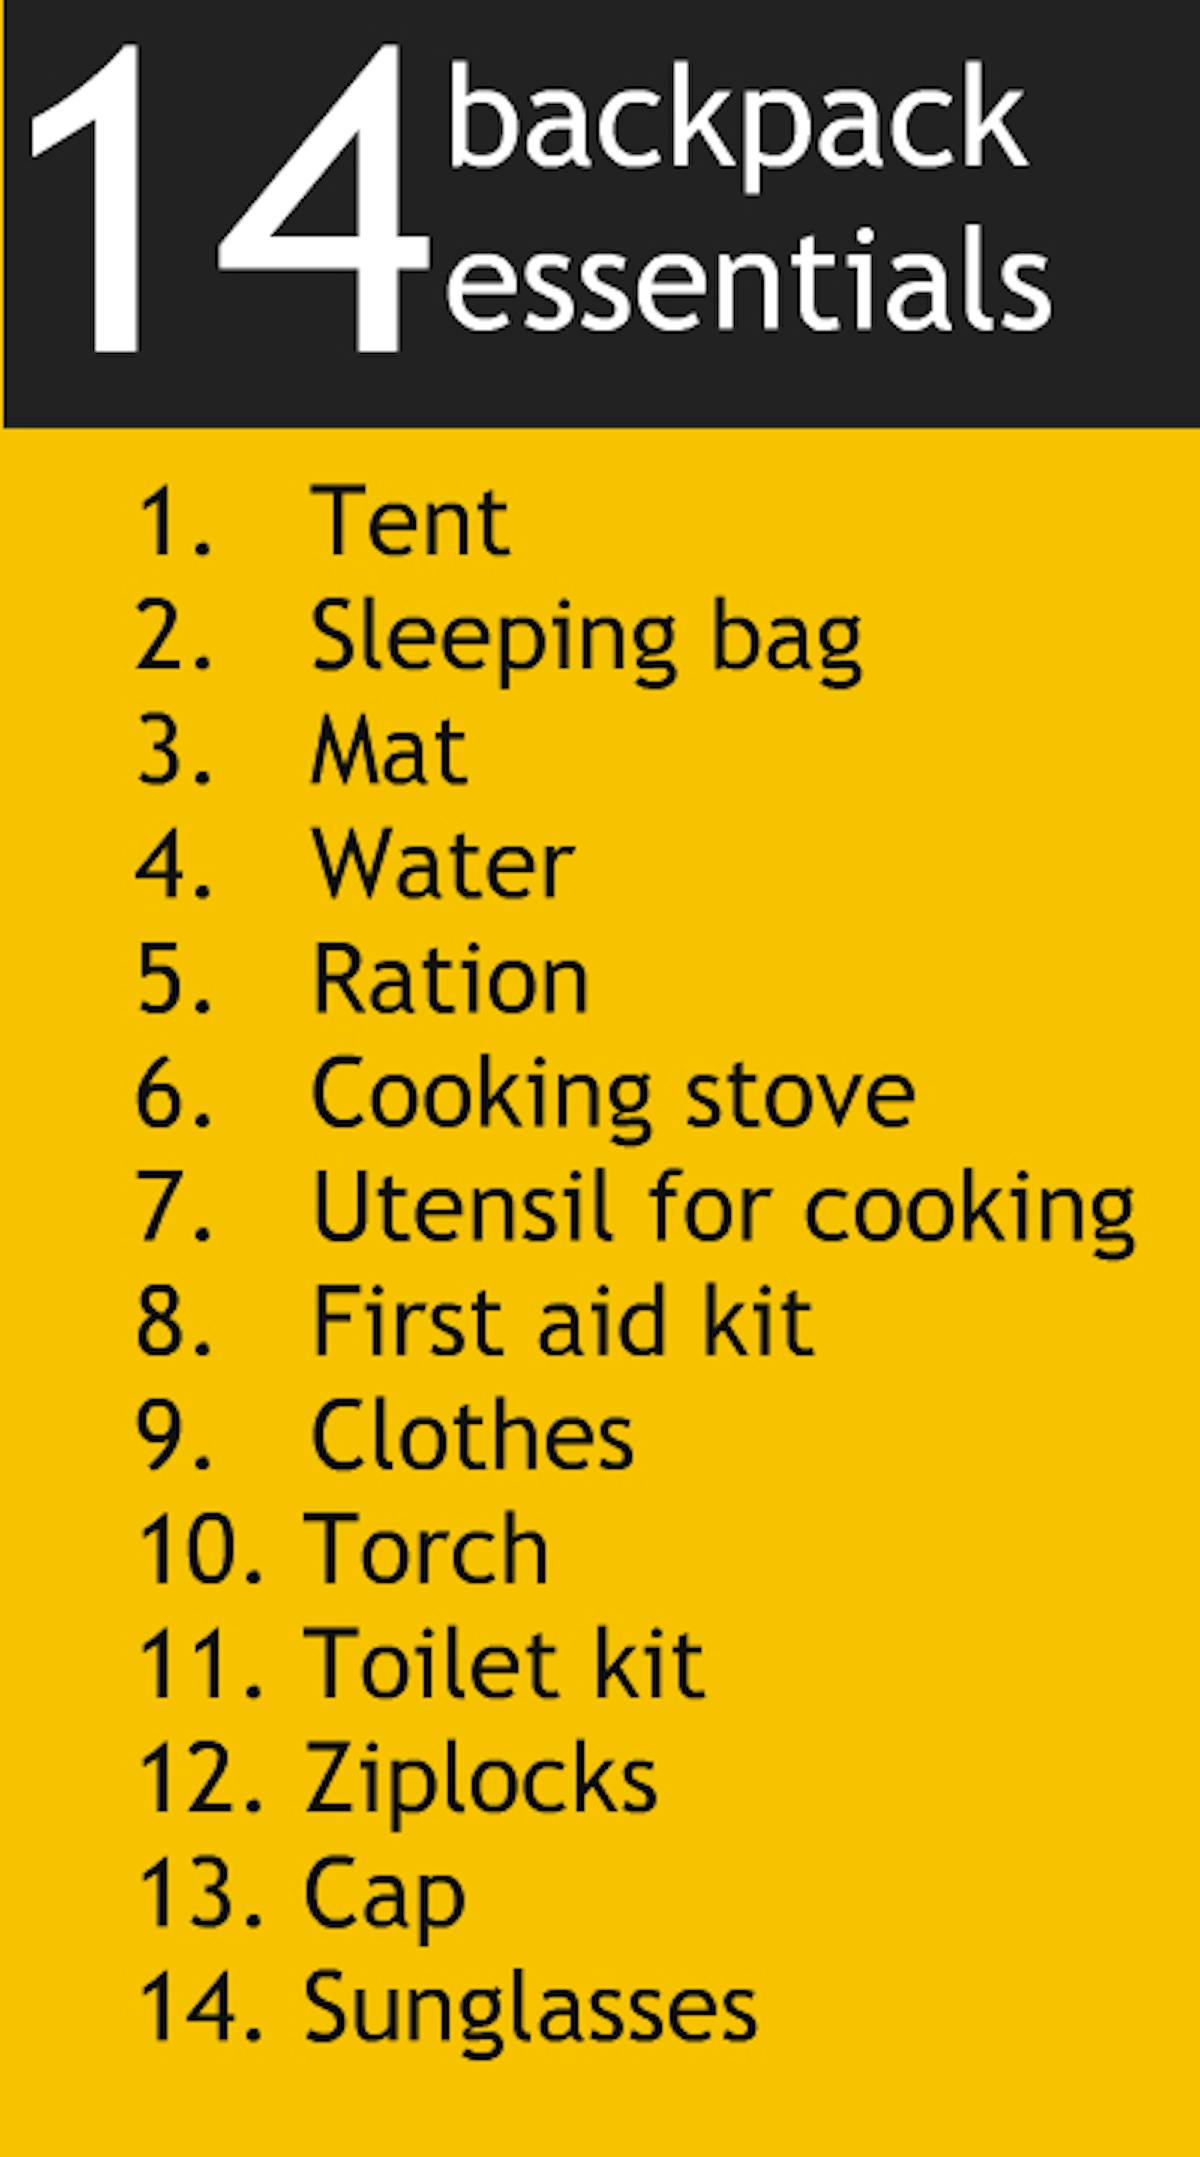
Backpack essentials
How to get Fit for the Kolli Hills Trek
Cardiovascular endurance
The secret to ascending any trail lies in building your cardiovascular endurance. You can begin by jogging everyday. Ideally, you should be able to jog 4 km in 20 minutes before the start of the trek. It takes time to be able to cover this distance in the given time. Start slow and increase your pace every day. Swimming, cycling and stair climbing without too many breaks in between can help too. Strength This is another area you should work on. You will need to build strength in your muscles and in your core body. You can do some squats to strengthen your leg muscles. Do around 3 sets of squats, with 8 squats in each set. Apart from this, you can add planks and crunches to your workout.
Flexibility
Another aspect that will help you trek comfortably is flexibility. For this, you can do some stretching exercises - stretch your hamstrings, quadriceps, hip flexors, lower back muscles and shoulders regularly. Carrying a backpack, however light, can become a strain after a while. These exercises will help you to be in good shape before the trek. Working out indoors
If you can't go out and jog because of time and space constraints, here's a video you can use to work out indoors.
Trek Contributor
Author: Sandhya UC