TREK DIFFICULTY
Moderate-Difficult
TREK DURATION
8 days
HIGHEST ALTITUDE
15,000 ft
A Grand Buffet Of The Greatest Himalayan Treks
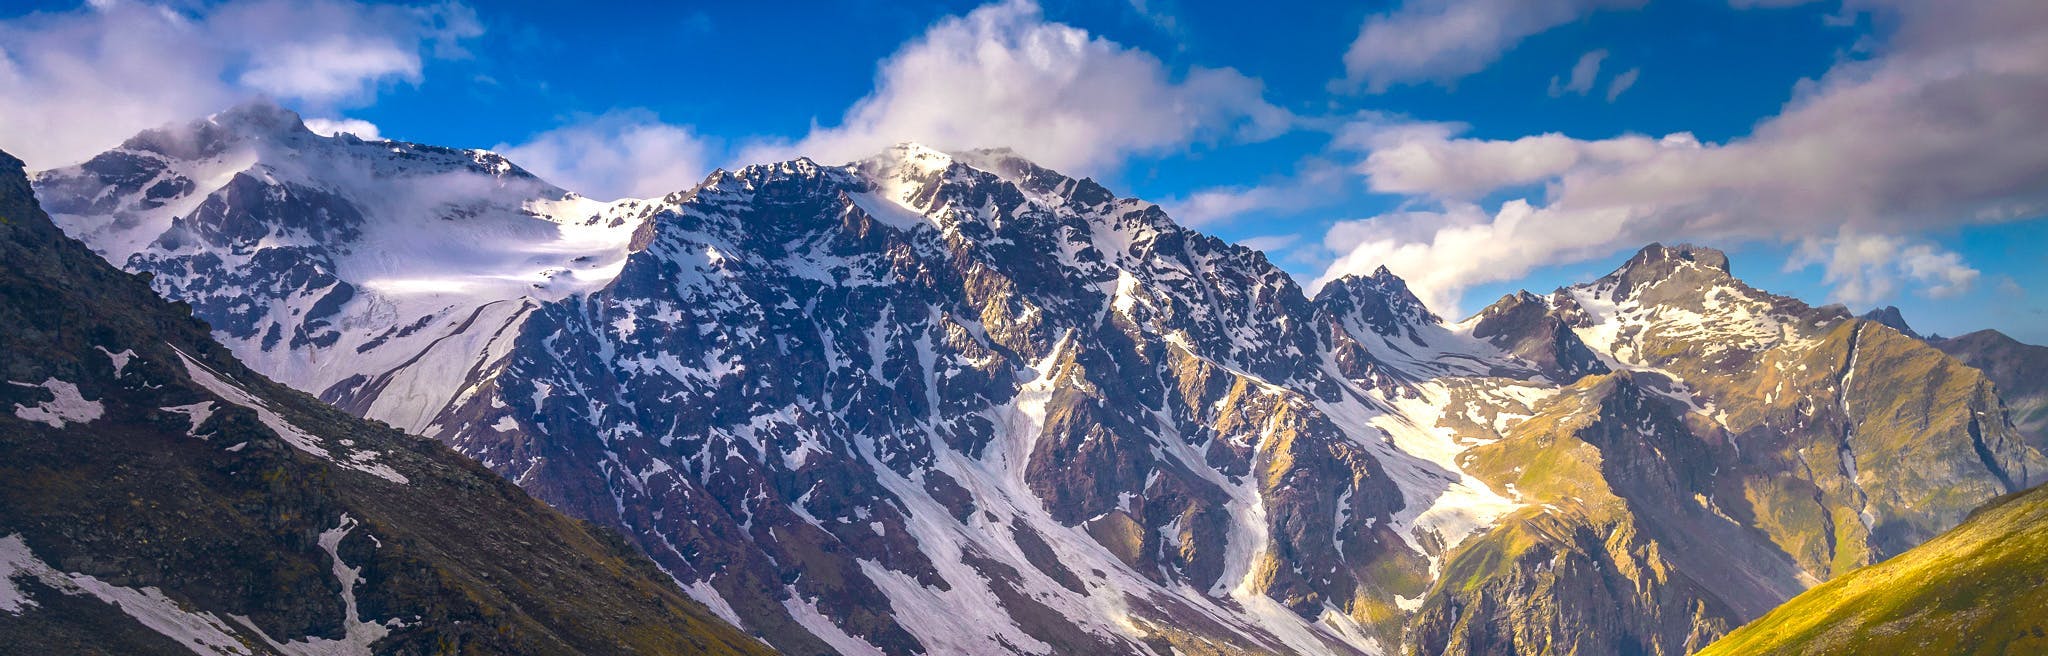
Every trek has extremely beautiful sections. Every trek also has sections that are, we grudgingly admit, a little imperfect. However, when you are on the Buran Ghati trek, even with your best critical eye, these imperfections are hard to spot.
There is not a moment on this trek where you are disappointed. It is as though someone has taken out all the best parts of our Himalayan treks and stitched them together to make one perfect trek.
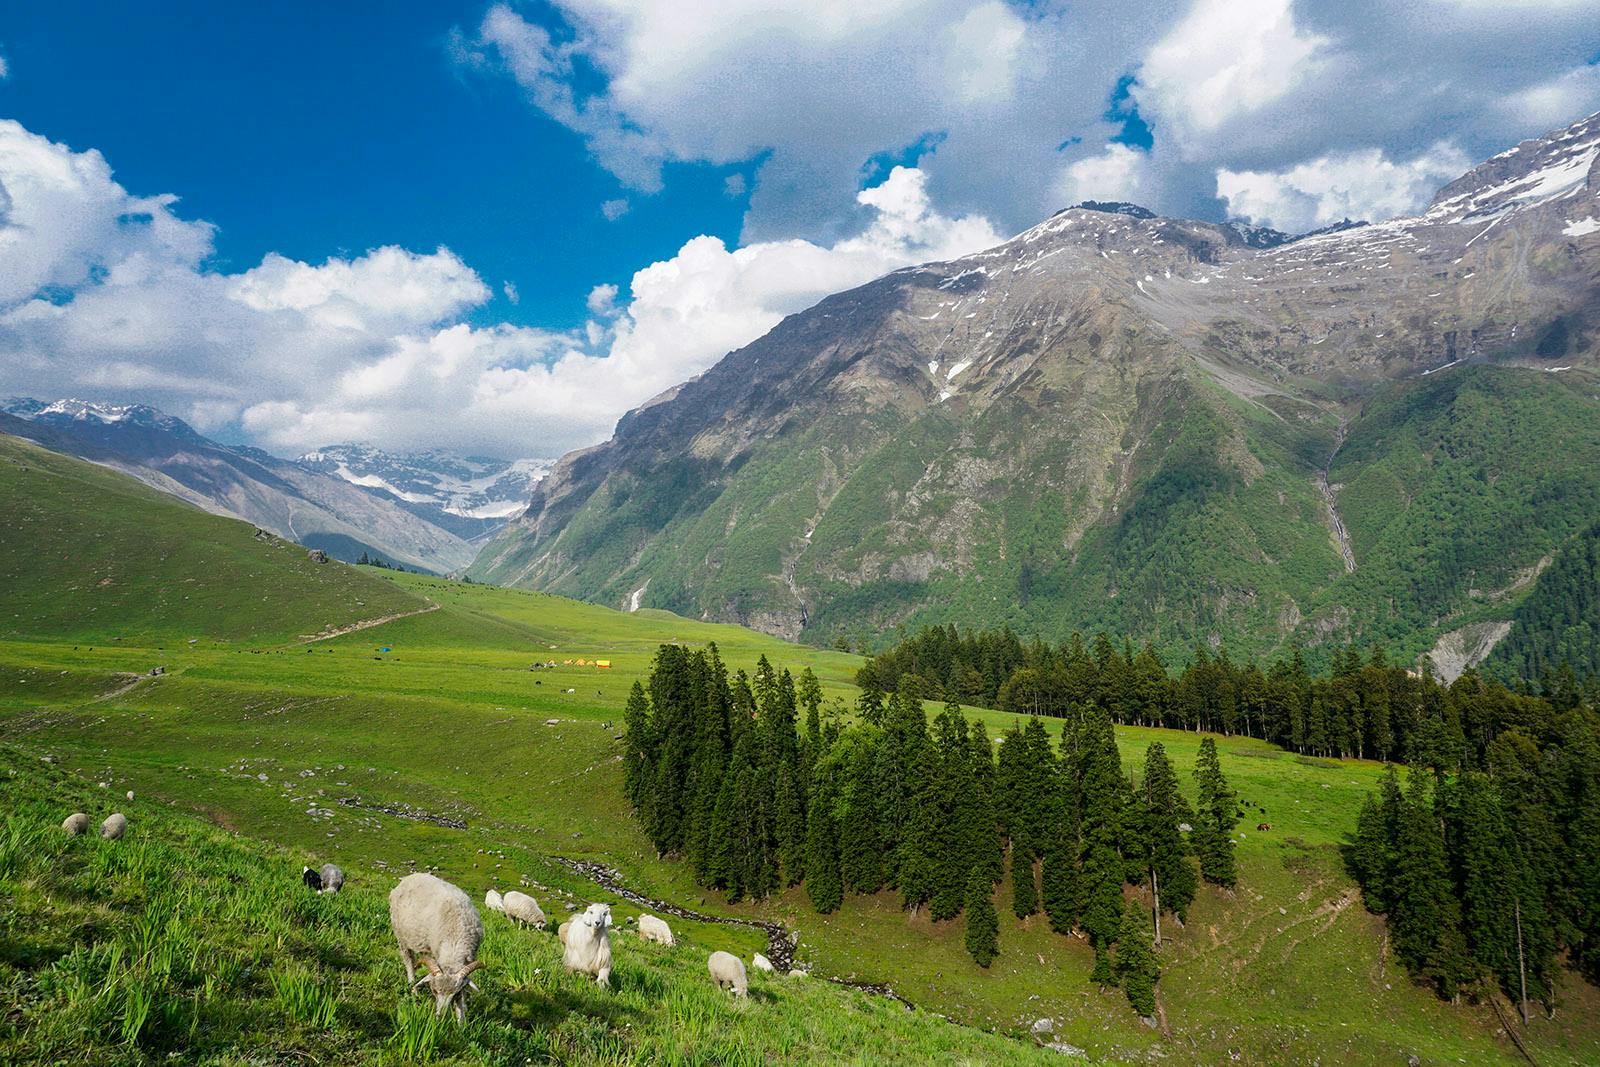
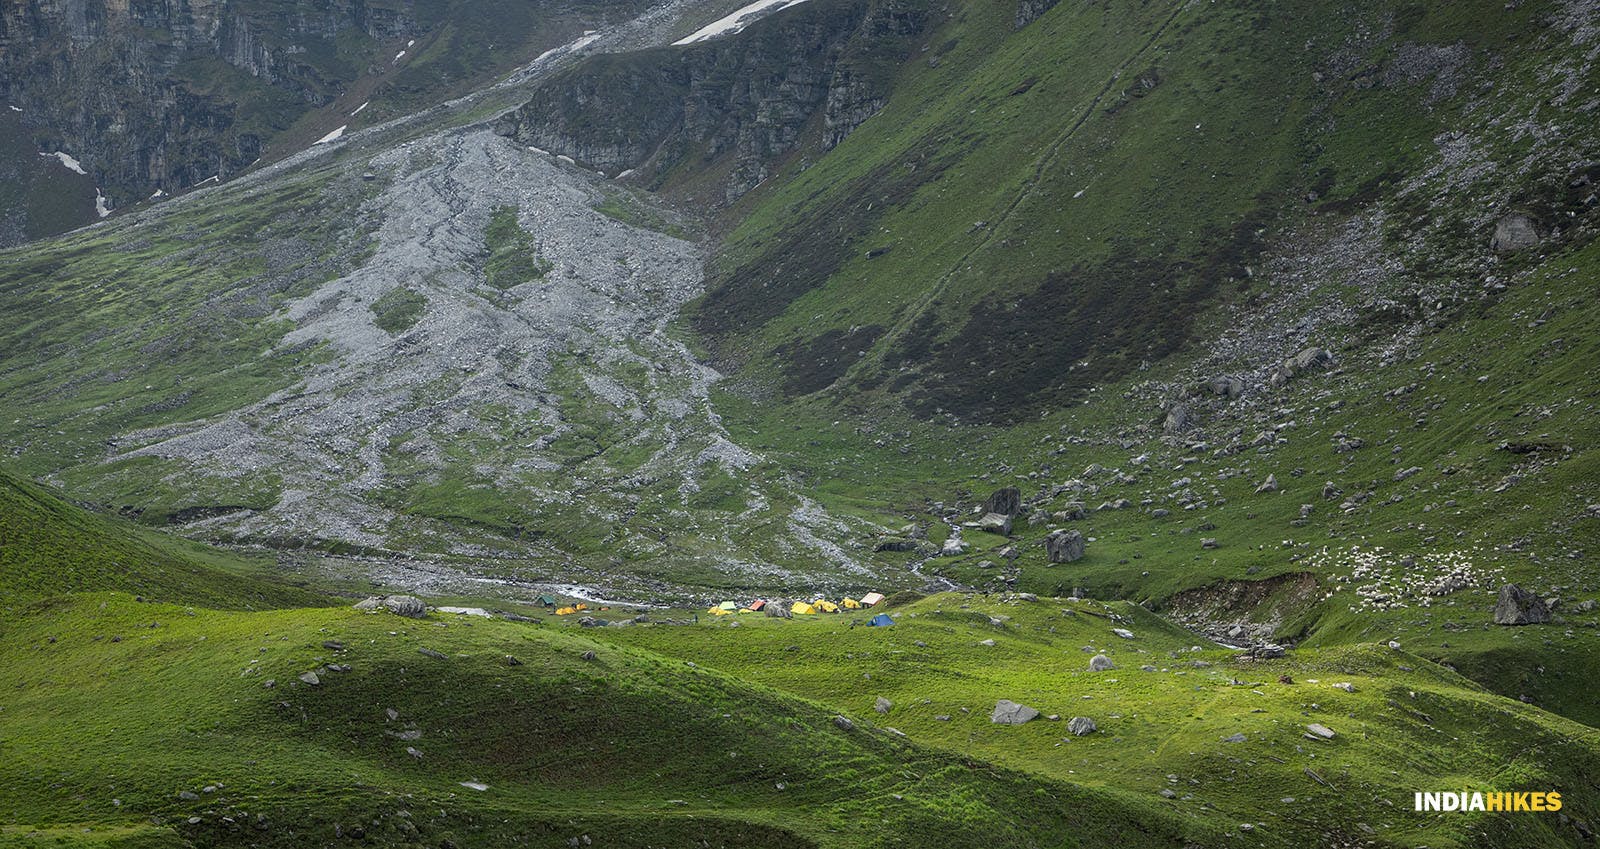
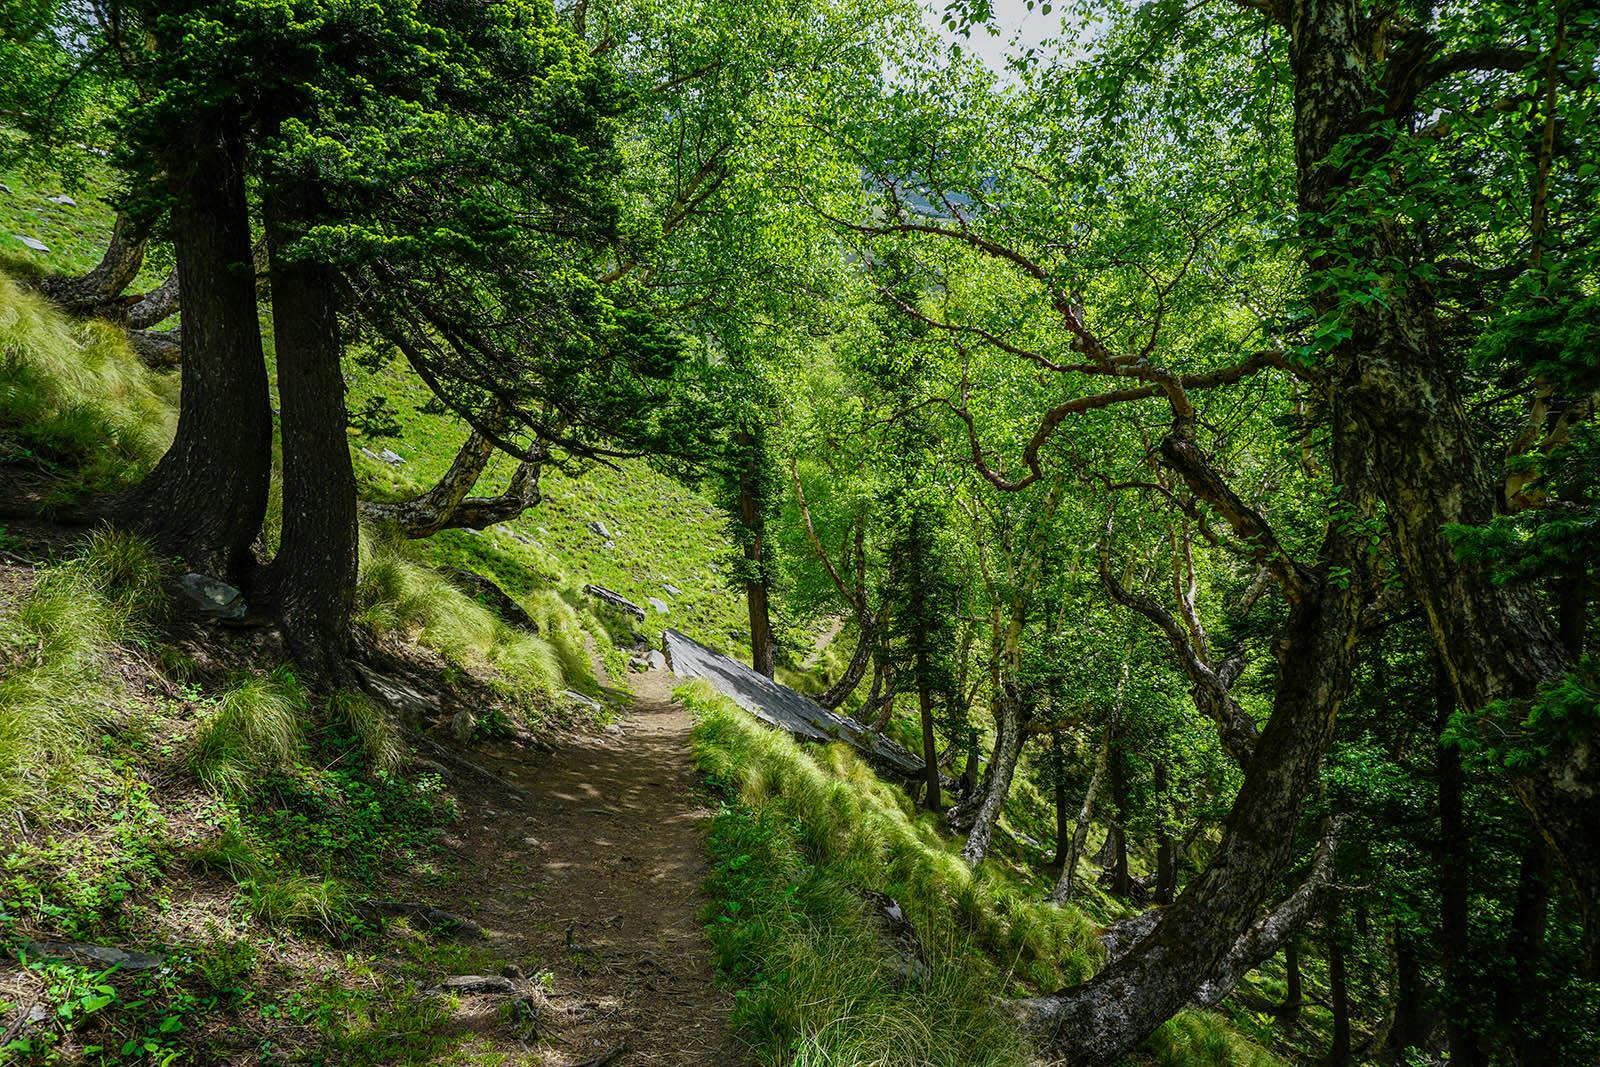
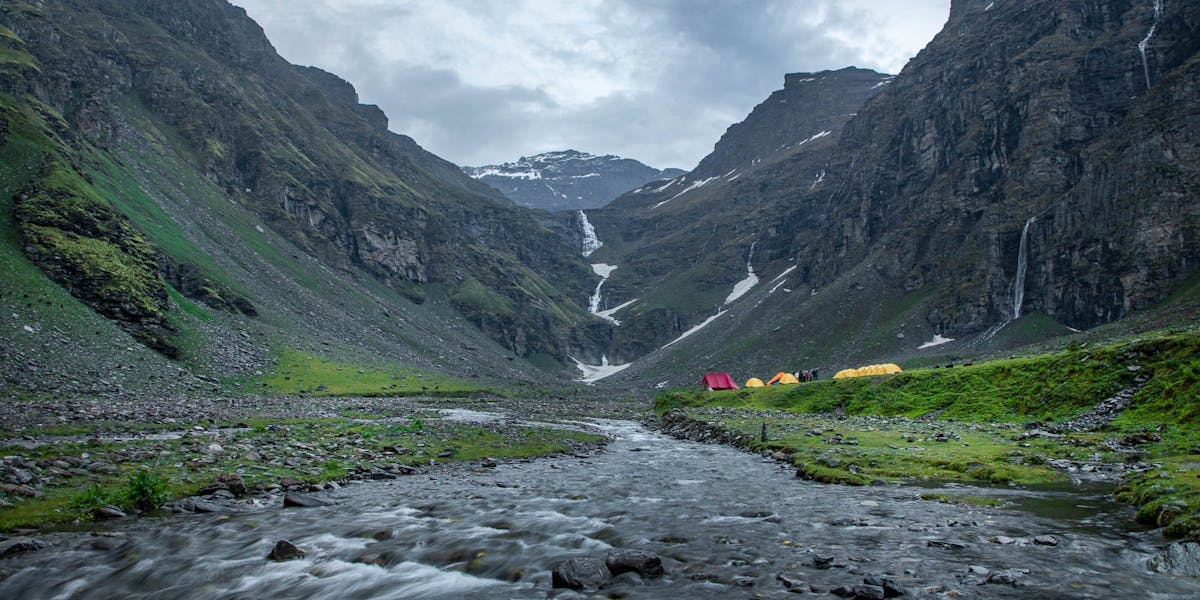
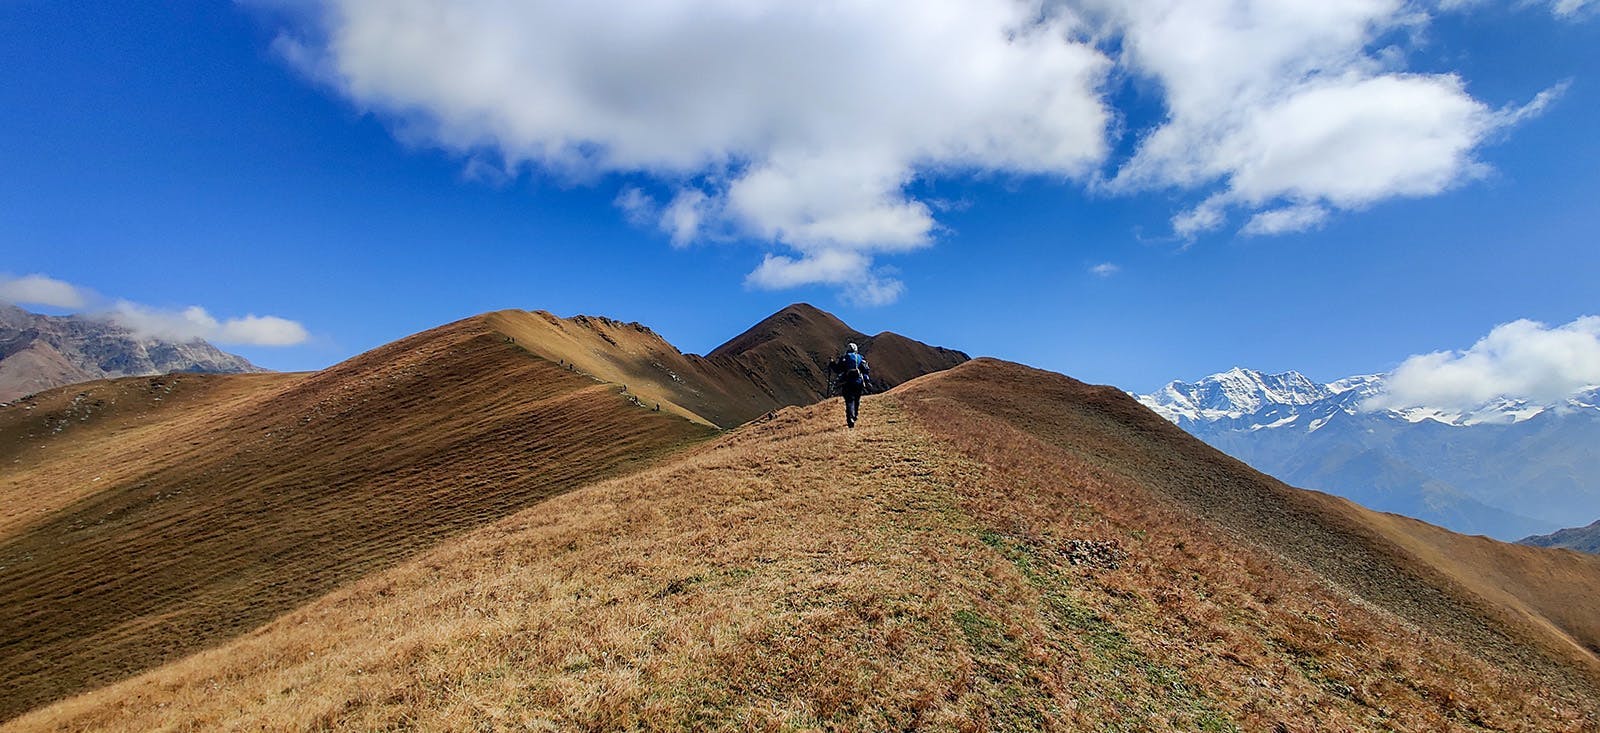
The trek starts at the ancient village of Janglik, reminiscent of the kind of old, “untouched by civilization” villages you would find on the Har Ki Dun trek. The trail climbs out of Janglik and goes into a delightfully deep forest and then bursts into Dayara meadows. Most trekkers stop in their tracks here, with their jaws agape at the wonderment that is Dayara meadows.
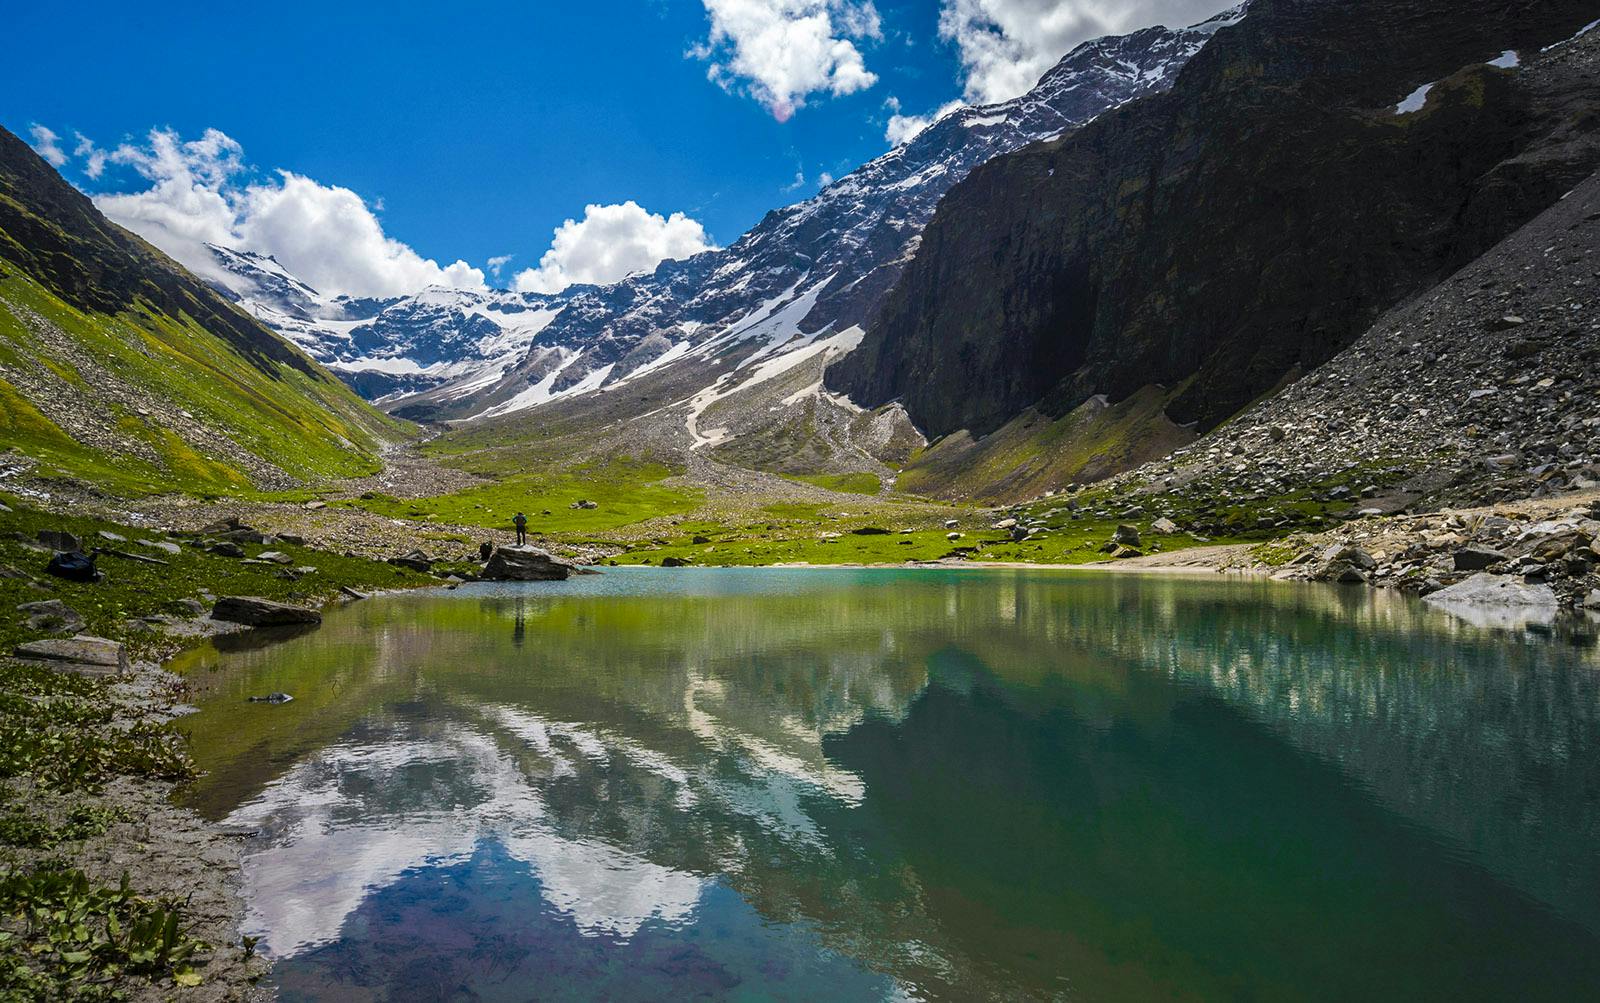
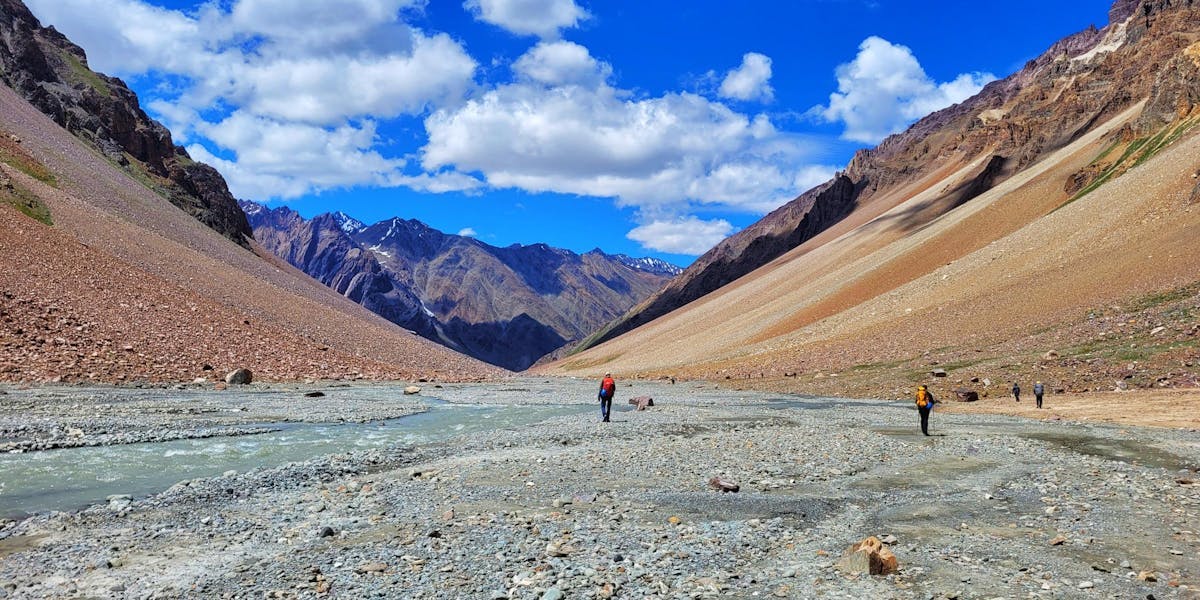
You walk out of Dayara with an expectation that the meadows are over – and you wouldn’t be more wrong. The trail to Litham is filled with forests and meadows. And there is the Dunda. If any campsite can give you the beauty of an alpine mountain zone and the thrill of a splendid climb to come, then Dunda will be among the best.
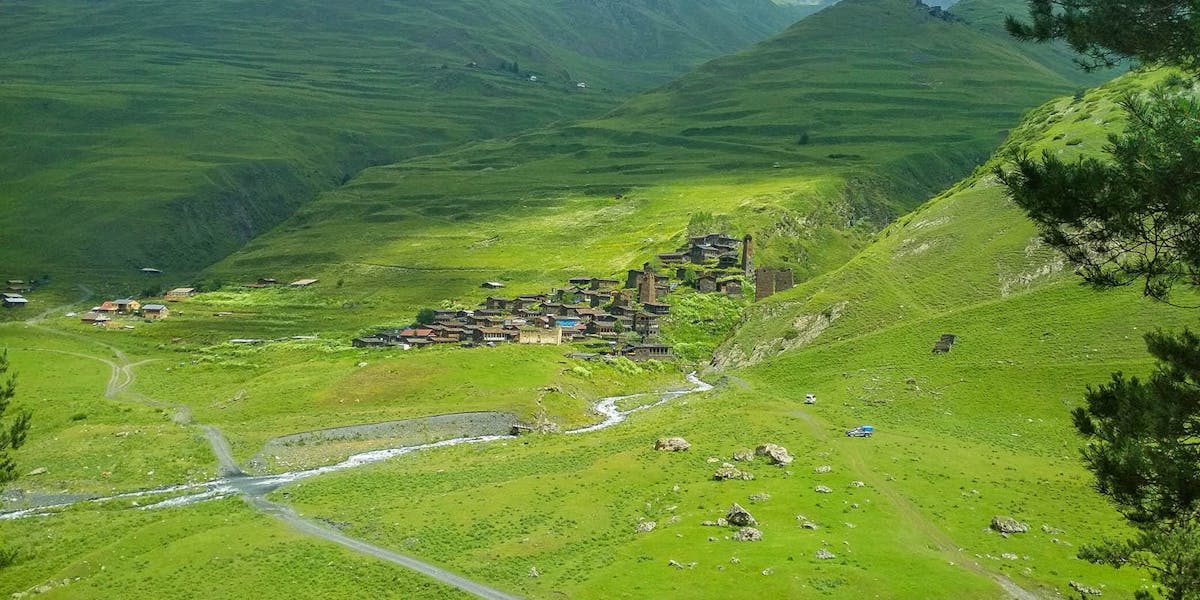
Barua, on the other side of the pass, is a charming old village that would distinctly remind you of Hobbiton from Lord of the Rings. Old houses, fruit-bearing trees, alleyways – it is a world of its own.
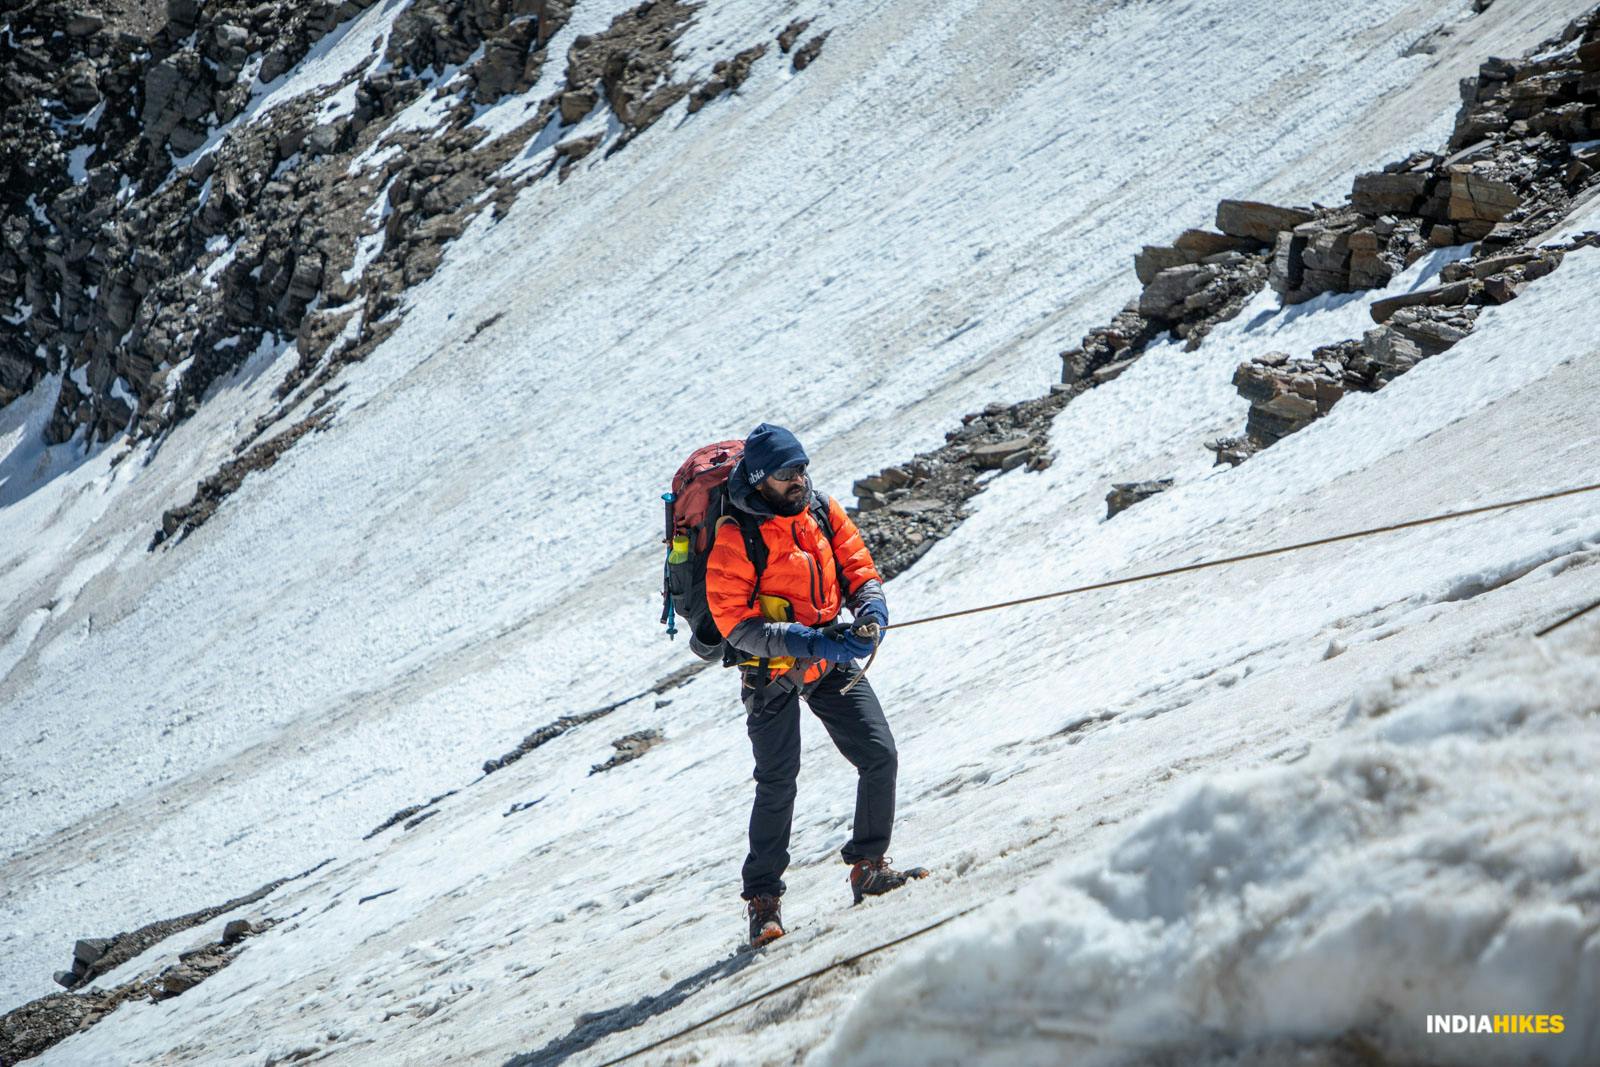
As we see it, the Buran Ghati trek has all the highlights of a tough trek, with an extremely thrilling pass crossing, put together in a moderate trek. There are rapid scenery changes and save for the Pass day, most days are easy-moderate. If you are looking for a summer or autumn trek, don’t think twice, go for Buran Ghati.
Every trek has extremely beautiful sections. Every trek also has sections that are, we grudgingly admit, a little imperfect. However, when you are on the Buran Ghati trek, even with your best critical eye, these imperfections are hard to spot.
There is not a moment on this trek where you are disappointed. It is as though someone has taken out all the best parts of our Himalayan treks and stitched them together to make one perfect trek.
Buran Ghati - Complete Trek Information
We have always wanted trekkers to be well-informed before they go on a Himalayan trek. Knowledge is the difference between a safe trek and a dangerous one. It’s also the difference between a wholesome experience and a superficial experience.
Use this section to learn about the Buran Ghati trek. It has in-depth information about each day of the trek, what to expect, and how you need to prepare for it. Many years of expertise have gone into this content. Trekkers find these extremely useful.
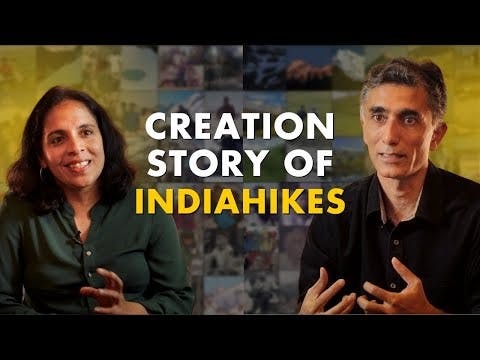
Buran Ghati Videos
Watch these videos to prepare well for your trek
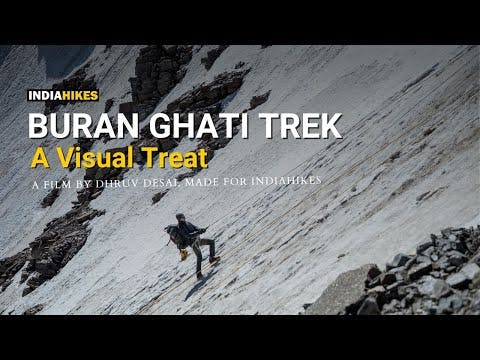
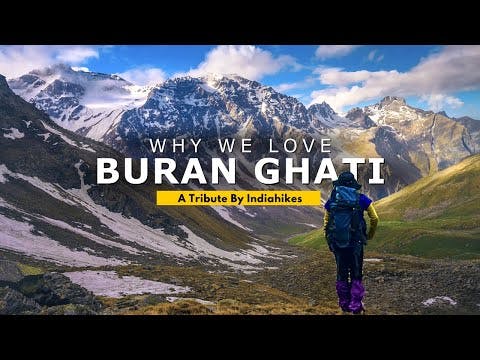
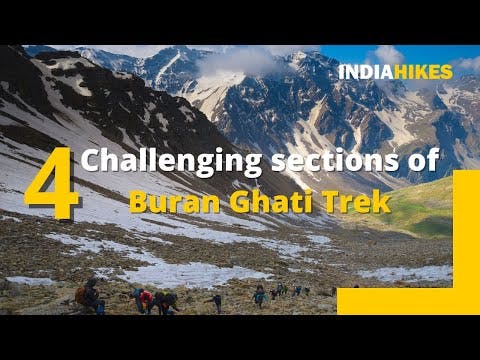
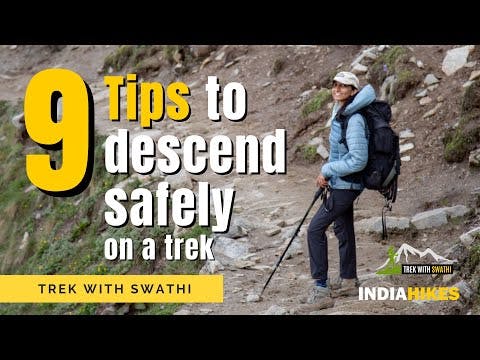

Photo Gallery

What I Like and Don’t Like About Buran Ghati Trek
What I Like About the Buran Ghati Trek

5 Reasons Why Indiahikes
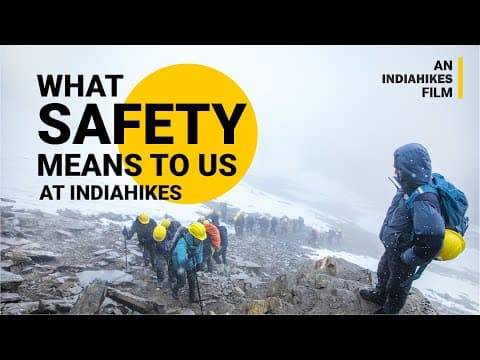
When we brought out new trails in Indian trekking, safety came with us. Back in 2012, we were the first to introduce microspikes, and two years later, pulse oximeters became standard thanks to us. Nobody does safe treks like Indiahikes. In the mountains, emergencies don't care who you're with – everyone knows that when trouble hits, you look for the yellow tents of Indiahikes.
We are pioneers in trekking. Since 2007, we have brought out treks that have become India's most famous treks: Roopkund, Rupin Pass, Buran Ghati, Kedarkantha, Kashmir Great Lakes, Tarsar Marsar, Brahmatal, Phulara Ridge—the list goes on. In 2023 alone, we brought out five new treks in Indian trekking. We know treks better than anyone. This comes directly from the reason why Indiahikes was born: to bring out trek information and enable trekkers to trek on their own.
More than 25,000 people trek with us every year. We are the largest trekking organisation in India. 24% of our trekkers come back to trek with us every year. Over 4,000 students from the top educational institutions trek with us every year. Aside from this, families with children choose to trek with Indiahikes knowing that our treks are the safest. We have taken over 8000 children trekking so far, and the number continues to grow.
We focus on designing transformative experiences. Our trek leaders conduct thought-provoking exercises that help you reflect and contemplate. This impact stays with you for a long time. Trekkers return feeling energised, more confident, or developing abilities to deal with difficulties. Many have changed careers, rethought their core values, become more humble, shown gratitude to others, or started a new fitness journey.

Since 2012, we have pioneered sustainable practices that have become standard in trekking. Using eco-bags, our trekkers have cleared over 120 tonnes of litter from the mountains. We do not carry packaged foods; instead, we serve freshly made food. We do not light campfires; we carry coal to light angethis to keep you warm. Our bio-toilets not only keep our toilets odour-free but also enrich the soil. When you trek with us, you leave mountains better.
Indiahikes Features
You’re guarded with our trek again philosophy

If you are unable to complete a trek, or if you love a trek, you can repeat it with us anytime. You don’t have to pay us for it. See our thoughts behind this here.
Daily 3-time health checks keep you safe at any altitude
Our thrice-a-day oxi-metre checks keep altitude sickness at bay, never allowing you to reach a point where you need evacuation.
Join any group, they are all women-friendly groups

With around 30% of our trekkers being women, all women, including those travelling solo are comfortable to join any of our groups.
Request Jain/Vegan-friendly food
Our kitchen teams understand your needs as a vegan (or a Jain). We will take special care of your food, even in the remote Himalayas.
Be comfortable and sustainable with bio toilets
We have specially designed bio toilets to ensure you have no sight or smell in toilets, at the same time making sure the toilets cause no harm to the fragile ecosystem we trek in.
Fresh, nutritious food at every camp
We’ll admit it. Our love for food surpasses our love for minimalism. Expect freshly cooked, multi-cuisine food at all camps, designed to meet your nutritional requirements and keep your taste buds happy!
Other Treks Like Buran Ghati Trek

7 Days
.
Moderate-Difficult
Georgia Atsunta Pass Trek
7 Days
.
Moderate-Difficult
Rupin Pass Trek
8 Days
.
Moderate - Difficult
Gidara Bugyal
Georgia Atsunta Pass...
The flower bouquet trek of Georgia
7 Days
Moderate-Difficult

Rupin Pass Trek
A surprise in scenery every hour
7 Days
Moderate-Difficult

Gidara Bugyal
A trek to the grandest meadows in our bouquet
8 Days
Moderate - Difficult
Sign up for our much loved Weekly Mailer
We have terrific trekking tips, trek updates and trek talks to look forward to